Artisan Loaves · beginner
Brown Rice Sorghum Country Loaf
Key takeaway
A brown-rice sorghum country loaf sets its structure with a 10:1 whole-psyllium gel, 100% hydration, and a 500F Dutch-oven bake followed by a two-hour cool.
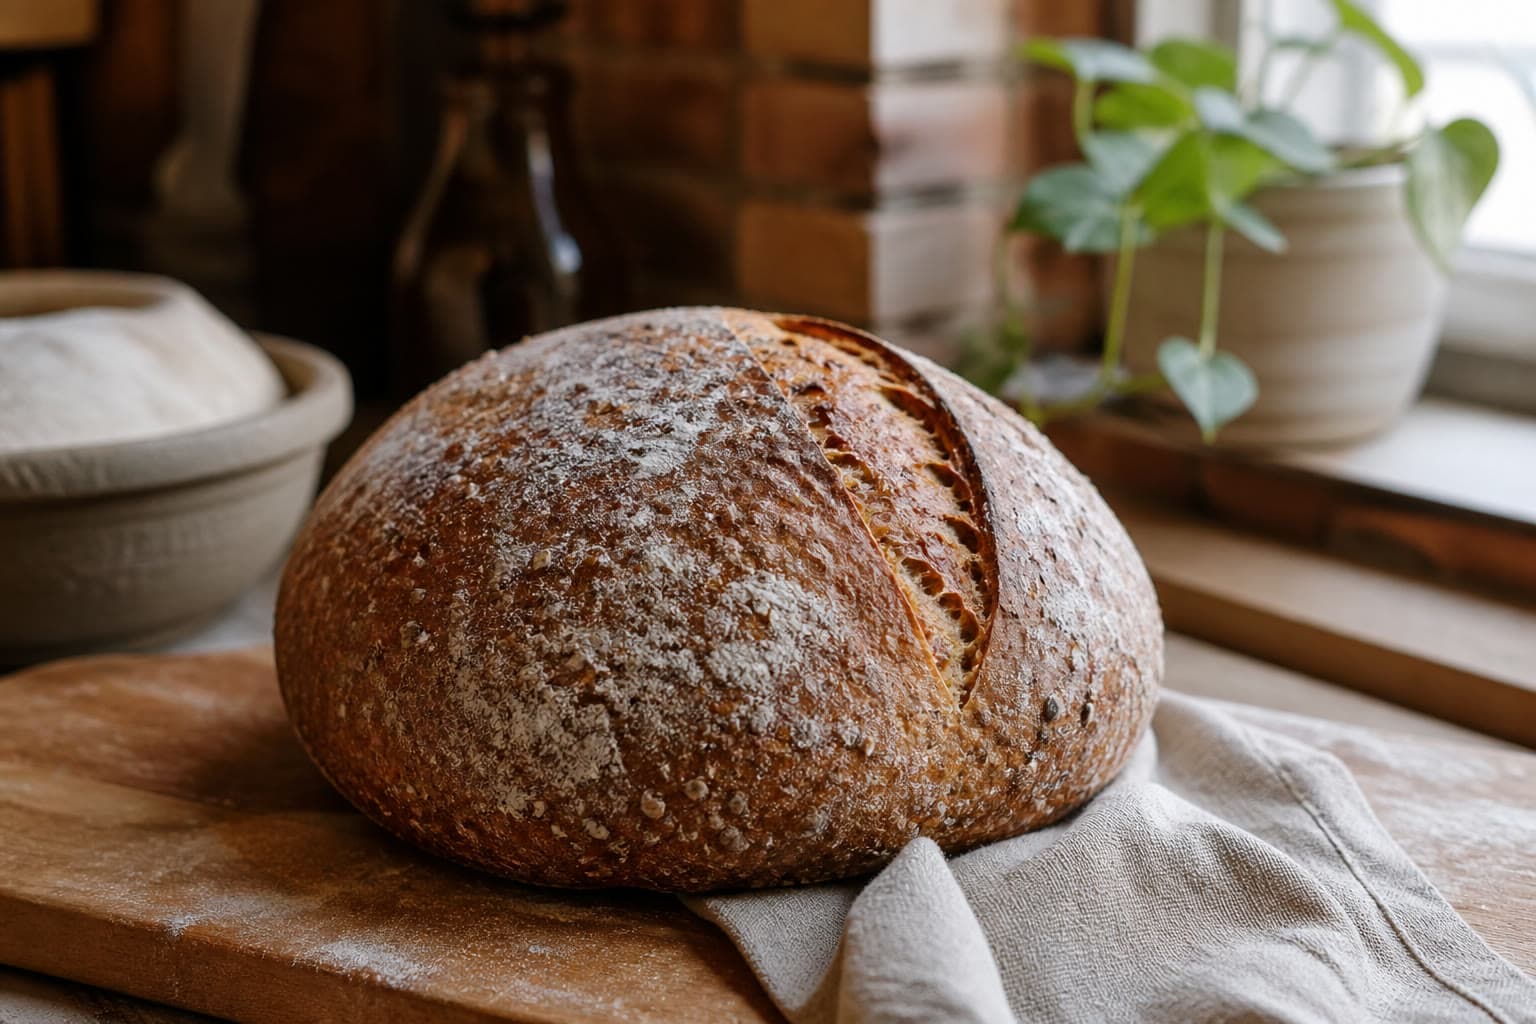
A rice-forward country loaf with sorghum sweetness, a little potato starch, and whole psyllium gelled 10:1 before mixing.
Prep
30m
Gel rest
5–8 minutes, then 10-minute dough rest
Bake
55m
Servings
12
Difficulty
beginner
The short answer
This country loaf leans on brown rice for a toasty, almost popcorn-like crust and sorghum for the mellow sweetness people miss when they leave wheat behind. A small share of tapioca and potato starch keeps the crumb from turning sandy. We gel whole psyllium husk at 10:1 water to husk before it meets the flours, which is the cleaner method if you have ever found dry husk specks in a slice. Total hydration is 100 percent of flour weight, including the gel water. Salt is 2.2 percent, at the top of our 1.8–2.2 percent range, because rice blends taste flat if they are under-salted. Twenty percent active brown-rice starter keeps the fermentation calm. The dough should look like thick porridge that you can mound after a short rest, then proof until it smells like warm cereal and yogurt. Dutch-oven bake at 500F, lid on then off, and a full two-hour cool. Compared with the classic three-flour loaf, this one is a little more rustic, a little more rice-forward, and a good everyday baker when sorghum is what you keep in the bin.
For the method behind gluten-free structure, read the gluten-free sourdough guide and keep a lively culture with the starter guide.
Why it works
- Gelling whole husk at 10:1 fully hydrates the fiber before it competes with rice flour for water.
- Fifty percent brown rice builds a toasty crust; sorghum and starches keep the interior from crumbling.
- Salt at 2.2% seasons a quiet flour blend without tightening the gel the way 3% would.
- A covered 500F bake gelatinizes rice starch; the lid-off finish dries the crust so it crackles.
Ingredients
- 250g (1 1/2 cups plus 1 Tbsp)brown rice flour
- 150g (1 1/4 cups)sorghum flour
- 75g (2/3 cup)tapioca starch
- 25g (3 Tbsp)potato starchnot potato flour
- 33g (about 7 Tbsp)whole psyllium husk6.6% of flour weight
- 11g (2 tsp)fine sea salt2.2% of flour weight
- 100g (1/3 cup plus 1 Tbsp)active brown-rice sourdough starter (100% hydration)20% of flour
- 500g (2 cups plus 2 Tbsp)water, divided100% hydration: 330g for the 10:1 psyllium gel, 170g mixed with starter
Equipment
- Digital kitchen scale
- Large mixing bowl
- Stiff spatula
- Banneton or towel-lined bowl
- Parchment paper sling
- 5–6 quart Dutch oven with lid
- Bread lame or sharp knife
- Wire cooling rack
- Instant-read thermometer
- Second bowl for psyllium gel
Instructions
- 1
Stir 33g whole psyllium husk into 330g cool water. Within a minute it will look like translucent beads, then a thick gel. Let it sit 5–8 minutes until you can tilt the bowl and the gel moves as one mass. This is a 10:1 gel; do not add extra water.
8 minutes
- 2
Whisk brown rice flour, sorghum, tapioca, potato starch, and salt until the mix looks even and pale tan. Break up any starch lumps with your fingers; potato starch loves to hide.
3 minutes
- 3
Loosen the remaining 170g water with the 100g starter until milky. Add starter water and the psyllium gel to the flours. Beat 90 seconds. The dough should look like oatmeal cookie batter, glossy, with no dry flour and no clear gel streaks.
5 minutes
- 4
Rest 10 minutes. Press: it should feel cooler, slightly elastic, and leave a slow fingerprint. If gel streaks remain, fold a few times until the color is uniform.
10 minutes
- 5
Shape a round with wet hands. The dough will feel heavier than the classic loaf because of the rice. Set it in a floured banneton seam-side up and pinch any cracks closed so they do not open as tunnels.
5 minutes
- 6
Proof at 75–77F until risen about 50 percent and the loaf smells like brown rice pudding with a lactic tang. A poke should fill halfway back. Usually 4 hours in our kitchen; cooler rooms take longer.
4 hours
- 7
Preheat a Dutch oven at 500F for 45 minutes. Line a parchment sling. Invert the loaf; it should look taut, not spread into a pancake.
45 minutes
- 8
Score a shallow square or a single slash. Rice-forward dough opens less dramatically than starchier blends, so do not expect a huge ear; aim for a controlled crack.
2 minutes
- 9
Bake covered 40 minutes, then uncovered 15 minutes to a deep gold-brown. Center 208–210F. The crust should feel hard and sound hollow, with a toasty rice aroma, not a raw-flour smell.
55 minutes
- 10
Cool at least 2 hours. The crumb of rice-heavy loaves looks slightly tighter than the classic loaf; that is normal. It should slice without smearing on the knife.
2 hours
Nutrition
Approximate values per serving. Always verify labels if you bake for celiac safety.
| Nutrient | Amount |
|---|---|
| Calories | 174 kcal |
| Protein | 3 g |
| Carbs | 38 g |
| Fat | 1 g |
| Fiber | 4 g |
| Sodium | 355 mg |
Substitutions
- Potato starch (25g)
- 25g additional tapioca starch. Slightly chewier, a bit less tender.
- Whole psyllium husk gel
- 28g psyllium powder whisked into the dry flours, using all 500g water with the starter. Powder is ~85% of husk weight.
- Brown-rice starter
- 100g sorghum starter, 100% hydration.
Storage
Keep at room temperature, cut-side down, for 2 days. Slice and freeze for breakfast toast. The rice crust stales faster than a starchier loaf, so freeze extra on day one if you will not finish it.
Notes
- Gel water counts toward the 500g total. Adding a second hydration on top of the gel over-waters the loaf.
- Potato starch is not potato flour. Potato flour is cooked, heavier, and will dull the crumb.
- Rice-forward dough proofs a little slower than starchier mixes. Trust volume and smell, not the clock alone.
- If the gel looks lumpy, whisk it hard before adding; lumps bake into slippery pockets.
FAQ
Should I mix psyllium into the flour or make a gel first?
Both work. This loaf uses a 10:1 gel (330g water to 33g whole husk) because rice flour shows dry husk specks more than starchier blends. Our classic loaf mixes powder into the dry flours. Pick one method and keep total water at 100% of flour.
Why does my brown-rice sourdough taste bland?
Salt at 2.2% and a fully mature starter fix most of it. Rice is quiet. Under-salting at 1% — a habit from some wheat formulas — makes gluten-free bread taste like packing material.
Can I replace sorghum with more brown rice?
You can, but the loaf gets drier and more brittle. Keep at least 25–30% sorghum or millet for tenderness.
Is potato starch gluten-free?
Pure potato starch is gluten-free. Buy a labeled certified product if you bake for celiac, and never confuse it with potato flour.
How wet should a 100% hydration gluten-free country loaf look?
Like thick porridge or scoopable hummus after mixing, then a moundable dough after the rest. It should not pour, and it should not knead like wheat.
Bake next
Related recipes
Artisan Loaves
BEGINNER
BEGINNER
NOV 14, 2025
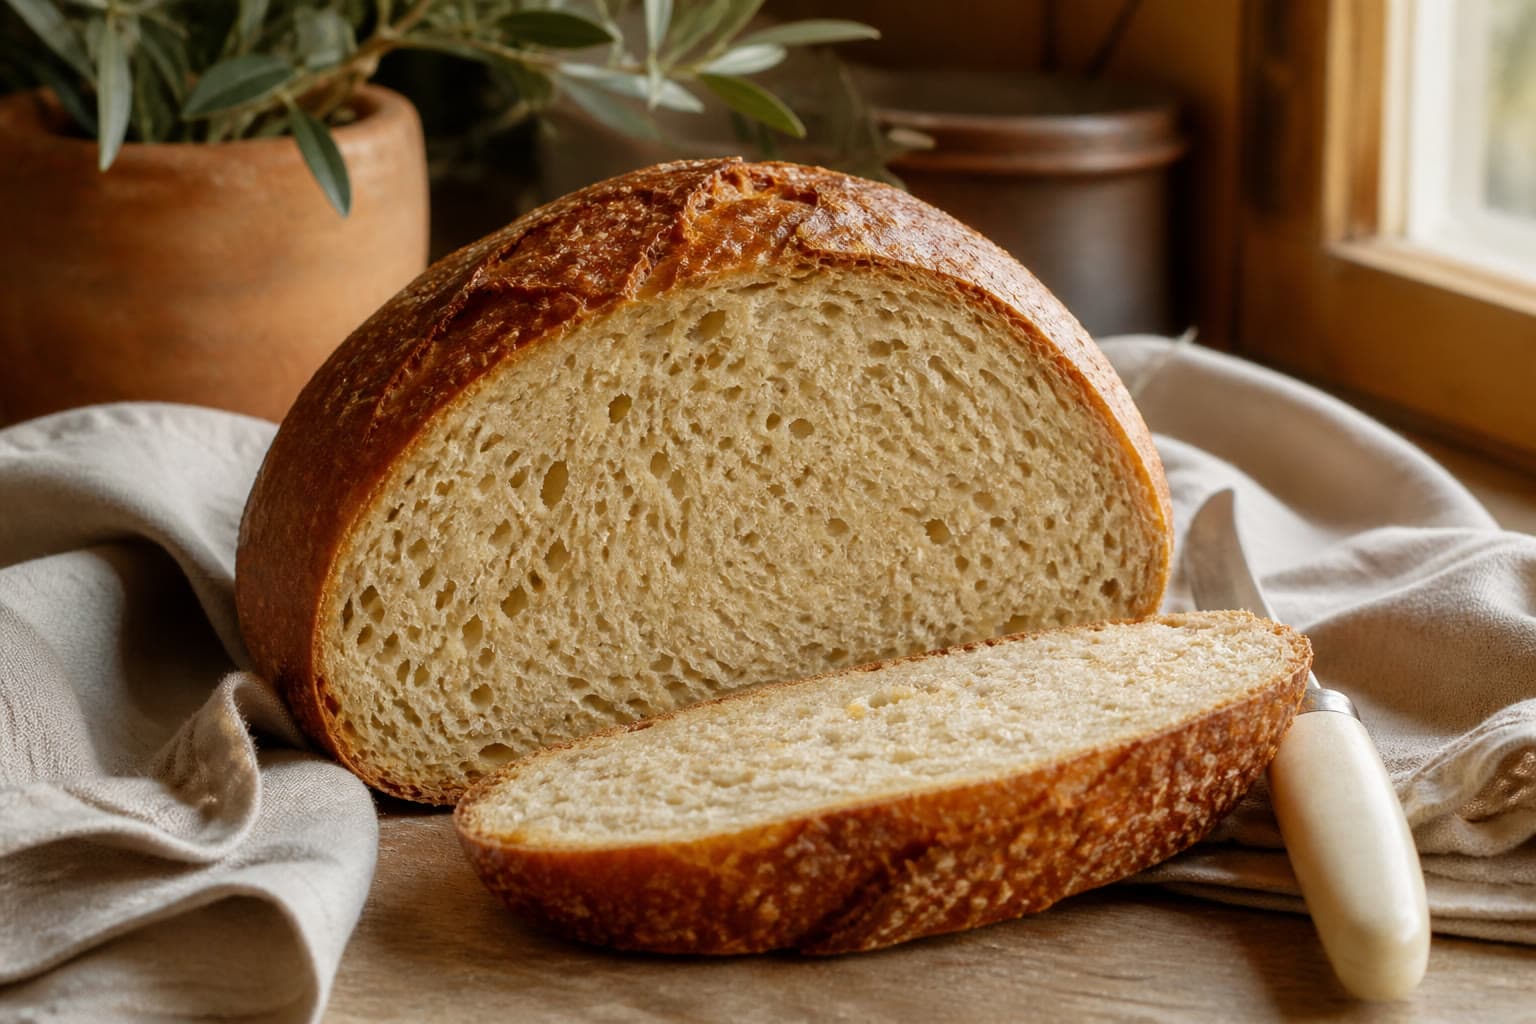
Classic Gluten-Free Sourdough
The beginner country loaf linked from our starter guide: brown rice, sorghum, tapioca, and psyllium powder at 5%.
Artisan Loaves
INTERMEDIATE
GLUTEN FREE SOURDOUGH
NOV 7, 2025
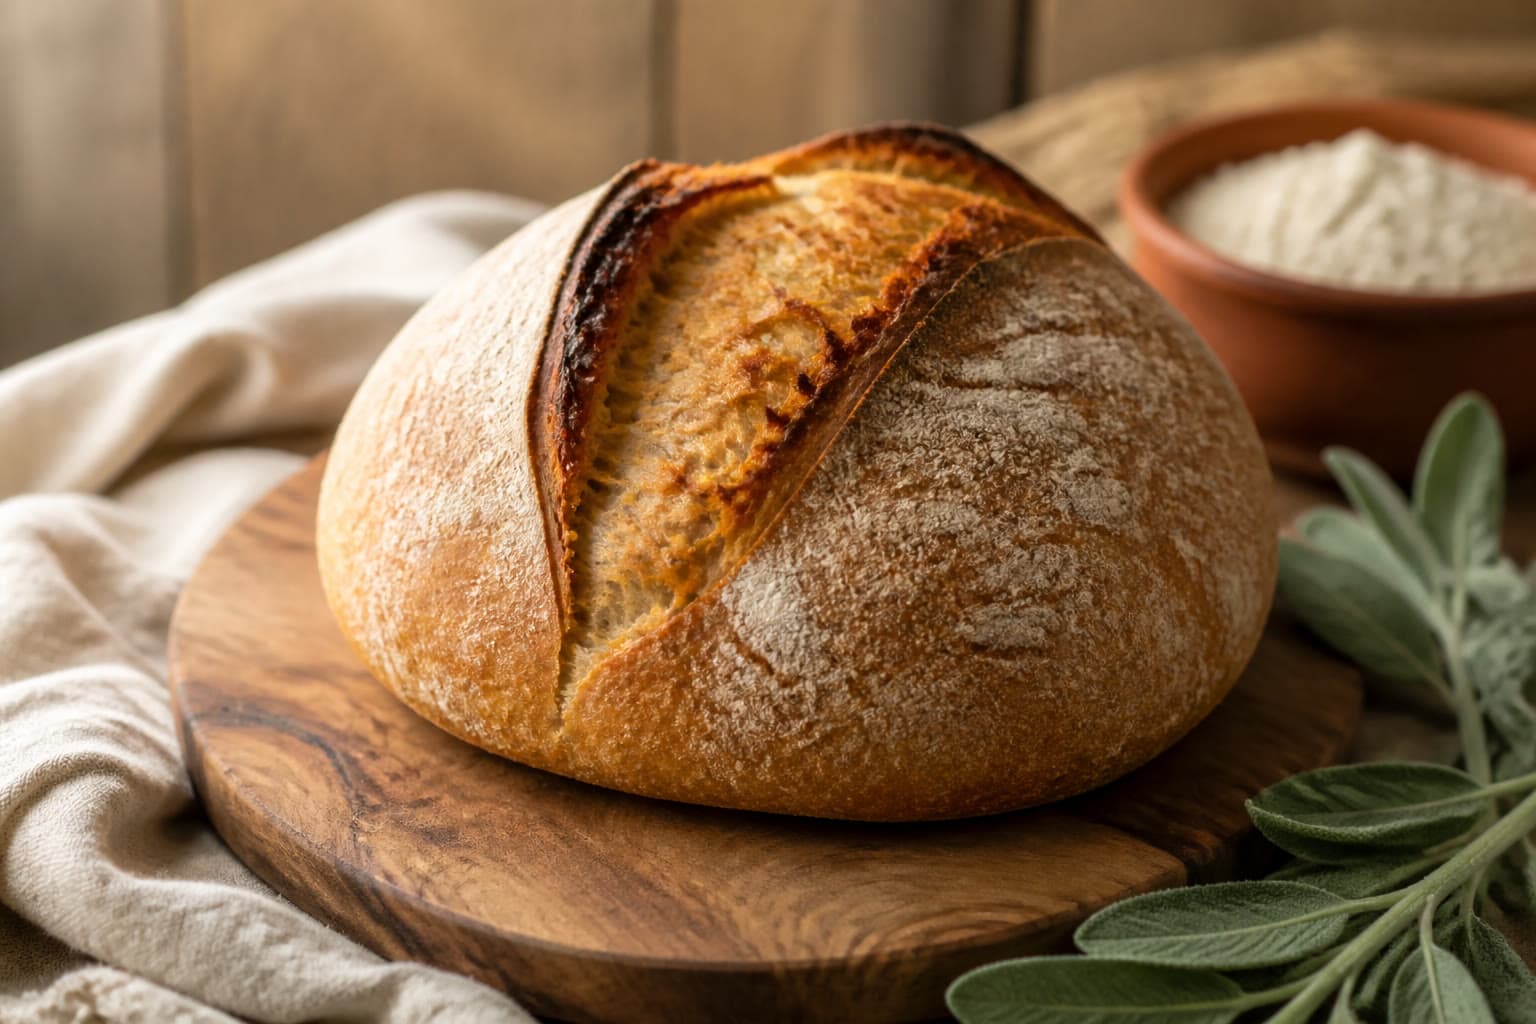
Artisan Gluten-Free Sourdough Bread
Our upgraded house boule: King Arthur gluten-free bread flour, whole psyllium husk, and a 500F Dutch oven for a blistered crust.
Artisan Loaves
INTERMEDIATE
TEFF
DEC 18, 2025
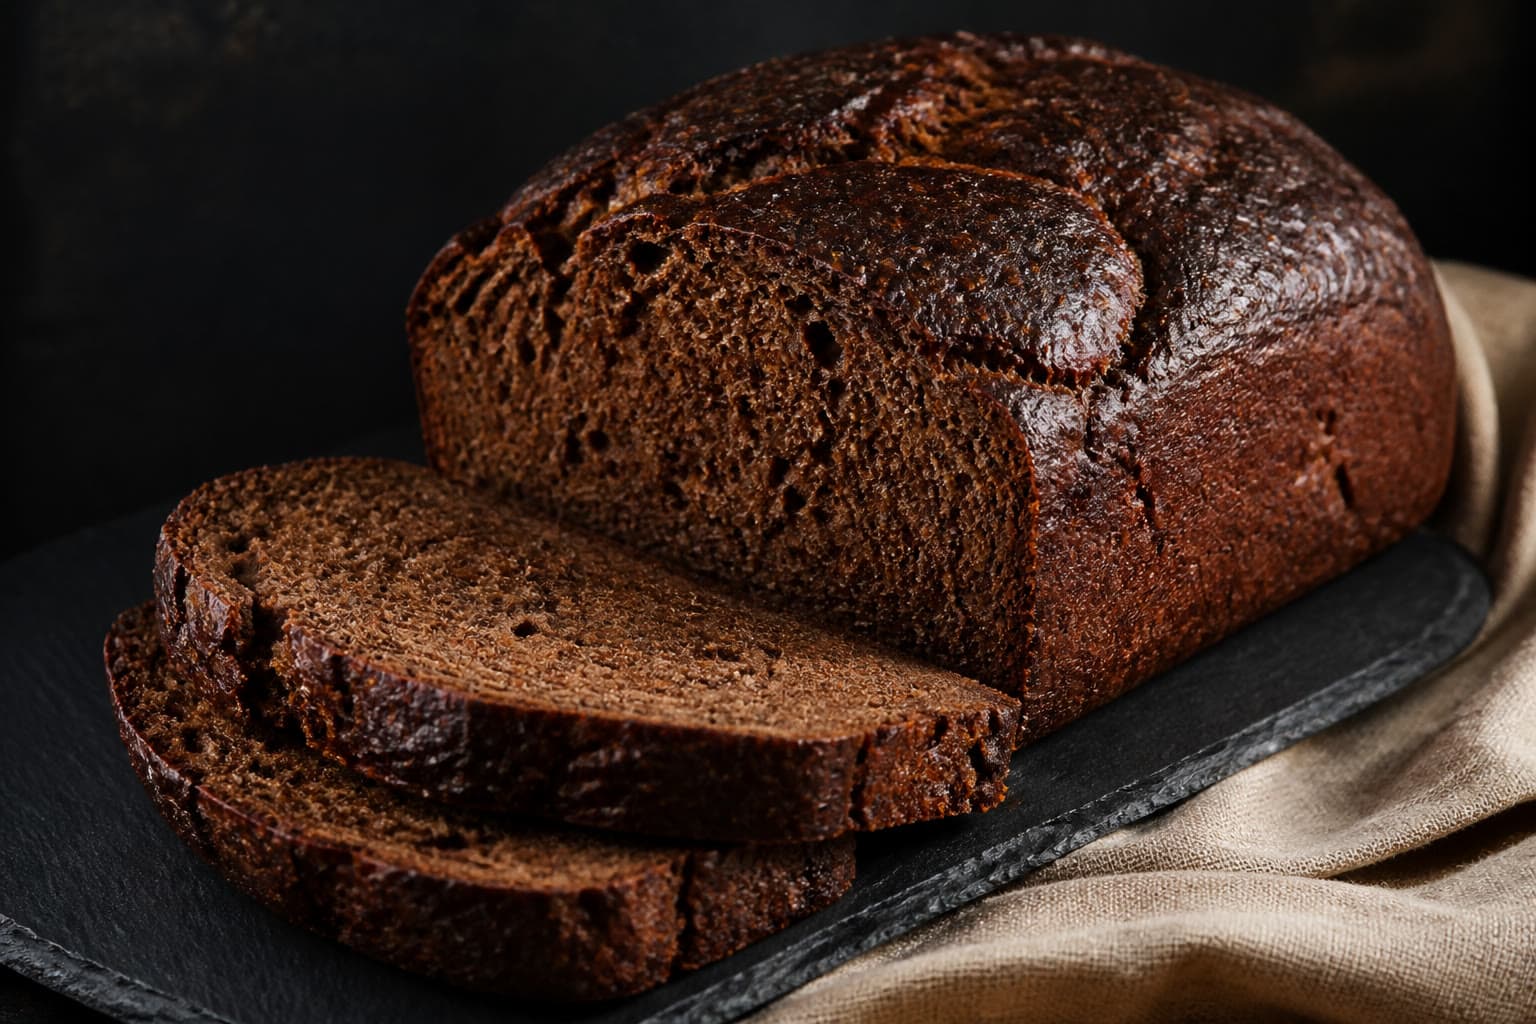
Teff Buckwheat Dark Loaf
A molasses-optional dark loaf with teff and buckwheat for rye-like depth — no rye, wheat, or barley in the formula.
Technique
Keep the method close
Psyllium, fermentation temperature, and a celiac-safe starter matter as much as the formula.
About Andrew Kittridge
Home baker in Indianapolis documenting gluten-free sourdough: psyllium structure, whole-grain blends, and loaves that actually taste like bread.
More about the kitchen